Installing Facebook pixel on WordPress sites is fairly easy. However, you should know what Facebook Pixel is, how to create one, and how it relates to Facebook Ads to get the most out of it.
Facebook And Its Marketing Practices
Social media sites collect a lot of information that users provide willingly. Given that, some of it ends up in the hands of Facebook advertisers. While the moral of collecting data has been questioned many times before, one thing is certain – this data can be used for targeting ads towards the right crowd. That is an unquestionably positive side of digital marketing. Anyone who visits your website is a potential customer.
What Is The Facebook Pixel?
The Facebook Pixel (aka Facebook conversion pixel) is a great way to use marketing on your WordPress site to guide users toward a specific goal. As a result, you increase your conversion rates a lot.
It is basically a little piece of code, that gives you the ability to:
- Track conversions.
It helps you better understand what is the direct result of your Facebook ad. - Encourage more sales.
Re-target users that are more prone to perform a particular action. (using the retargeting pixel to track users who either buy your product or register for a service you provide) - Ensure your ads go to relevant people.
Through the precise targeting of website visitors belonging to certain groups. (using Facebook dynamic ads to identify and promote to lookalike audiences) - Boost posts.
By making your ads as efficient as possible.
In any case, to do all that we first have to know a little something about “standard events”, “custom events”, and “custom audience”.
Standard Events
When the user performs an action on your site, it triggers the event function. After you choose what events you want to track, a pixel will start logging the information you need accordingly. Standard events are the ones the Facebook team defines. Those include: add to cart, add payment info, complete registration, lead, purchase, subscribe, etc. You can see how you could use these for some great marketing info.
*Both the events coming from ads and organic search can be logged.
Custom Events
As the name suggests, these events are the ones Facebook didn’t include in the standard events list. You can look at them as special events specific to your needs. They support parameters, so you can include more information about the event.
Custom Audience
When you are using Facebook Pixels, you can separate your users into groups according to the events they trigger. Hence, these groups are what we call “Custom Audience”. Facebook Pixel allows you to then, use that knowledge to send ads to people who match the same patterns.
Installing The Facebook Pixel
To install Facebook pixels, you can go with either the WordPress plugins method or do it manually. Facebook Pixel WordPress plugins are quicker, but the manual way has benefits for advanced users.
Let’s go about this step by step.
Create A Pixel
At this point, it is safe to assume you already have a Facebook account.
Firstly, we need to create a pixel. To do this, follow the instructions below.
- Go to the Facebook Events Manager, click on the “hamburger” icon (≡) and choose “Pixels”.
- This will then open the pixels tab where you will press “Create a Pixel”.
- Lastly, write a name for it, the website URL and click “Create”. That’s it!
After you create it, Facebook will generate its ID. This ID will soon help us connect the Facebook pixel to WordPress.
Use A Plugin To Install The Facebook pixel to WordPress
We are going to use a free Facebook Pixel plugin called “Pixel Caffeine”.
After you install and activate the plugin go to “General Settings”. Either write your pixel’s ID or leave this field empty and use the “Facebook Connect” button.
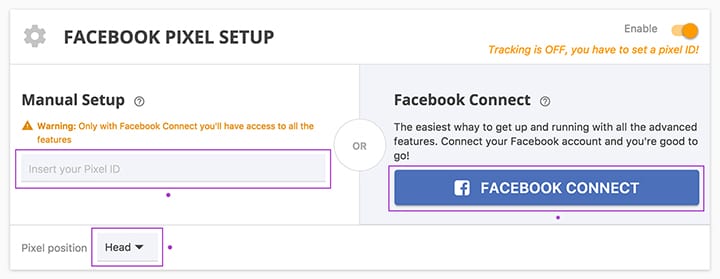
Now scroll down to the end of the page and click “save”.
If everything went according to plan, it will connect to your pixel. Therefore, you can now:
- Create custom audiences in the “Custom Audiences” section.
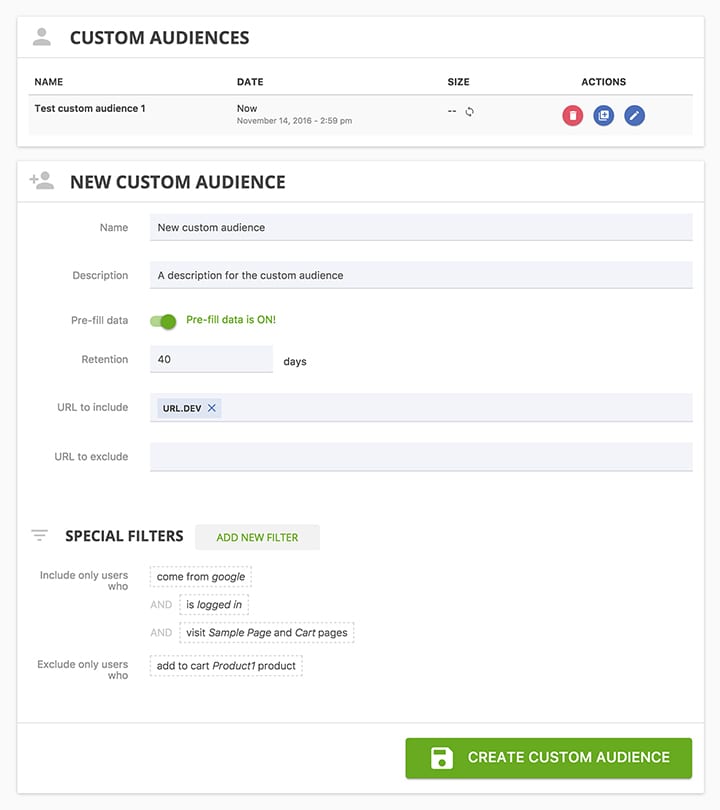
- Add the standard or custom events/custom conversions in the “Conversions/Events” section. (set up conversion tracking so you can use Facebook’s dynamic ads)
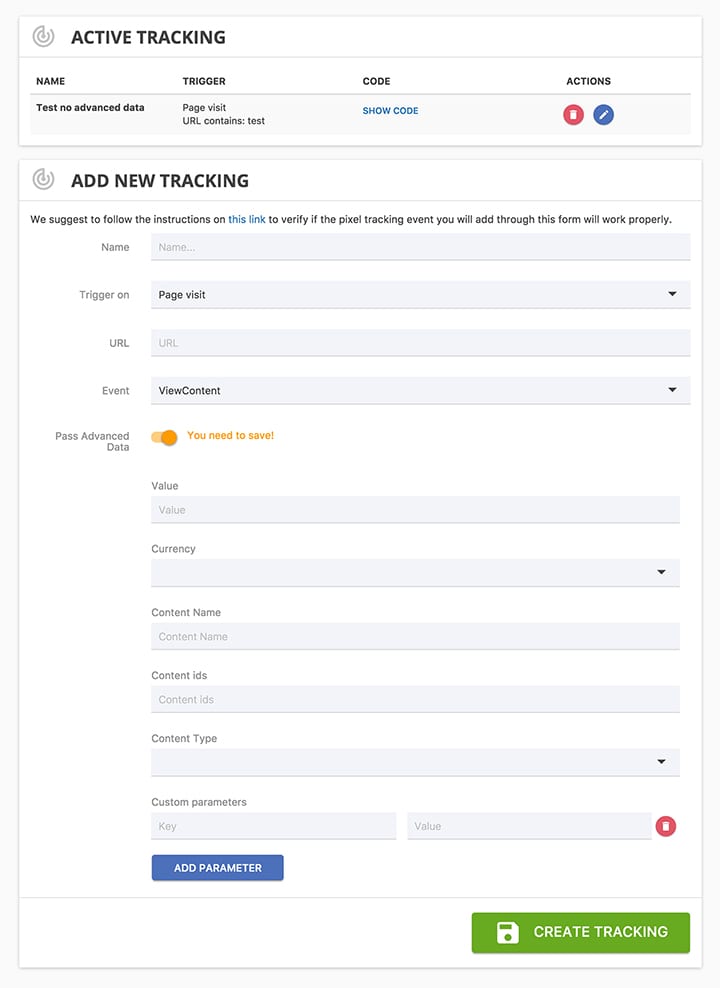
- You can even create a product catalog, which will help you so much if you have an e-store.

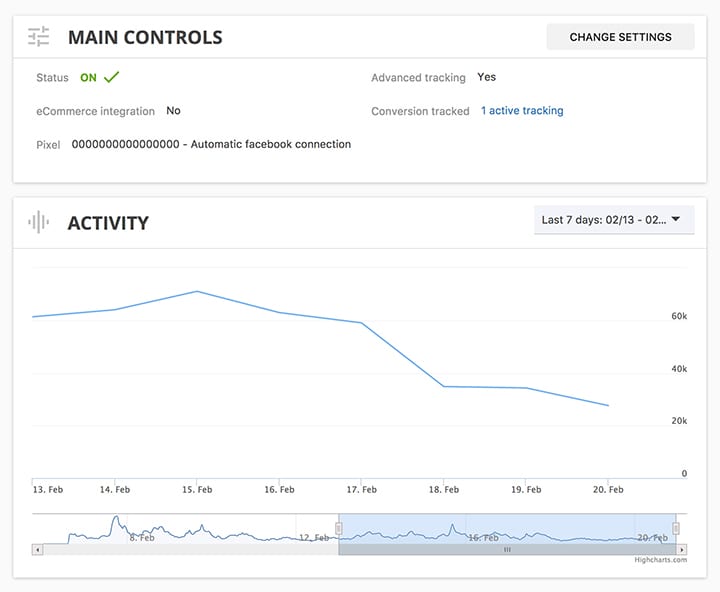
- And check your activity in the Pixel Caffeine plugin dashboard. This way you’ll have audience insights at the reach of your hand.
Adding Facebook Pixel To Your WordPress Site – The Manual Way
To do this manually, you will first go to your events manager and press the pixel button. Then, in the right corner, click on “Set Up”, and “Install The Pixel”.
The window will pop up asking you to choose one of three options.
![]()
Email Instructions On How To Add Pixel To Your Website To a Developer
In the event that you are not the developer of the site, you can use this option to send them the instructions.
Connect a Partner Platform (Installing The Official Facebook Pixel WordPress Plugin)
If you choose “Connect a Partner Platform”, the steps are pretty much automatic.
- Find and click on WordPress among the “Partners”.
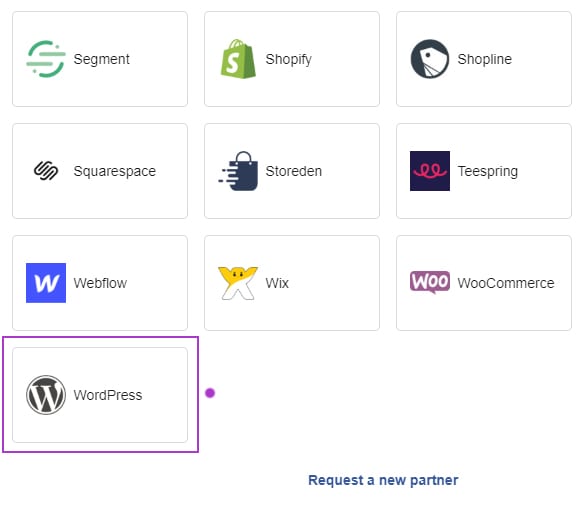
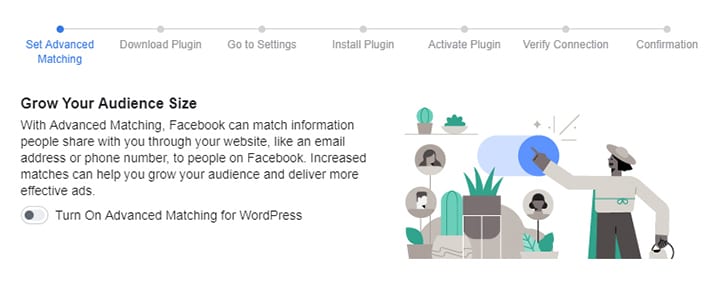
- The setup will ask you if you want to turn “Advanced Matching for WordPress” on. You can do so in this step, otherwise, just click “Continue”.
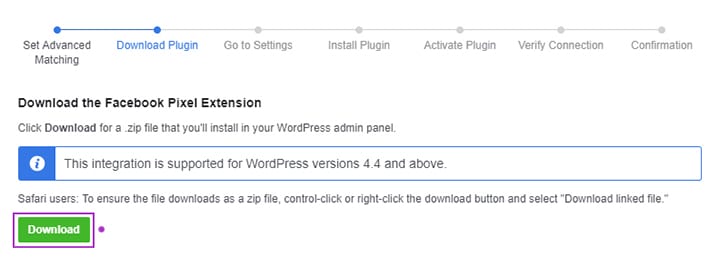
- Then, download the plugin.
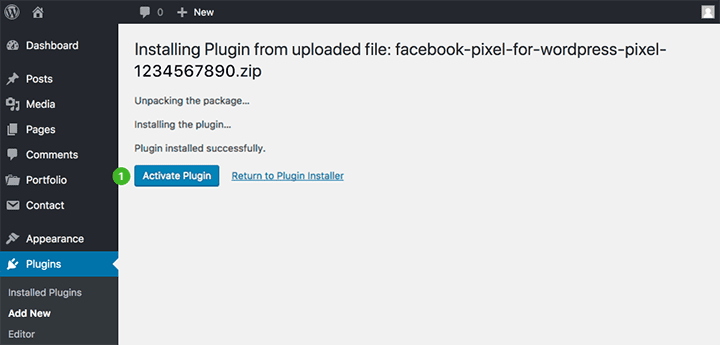
- Go to your admin panel and follow the instruction shown to you in the installation. (Go to WordPress dashboard, find Plugins panel, click “Add New”, and upload the Official Facebook Pixel plugin)
- Verify the connection by sending test traffic to your pixel.

You now have a Facebook pixel on your WordPress website.
![]()
To add either a custom audience or event, you need to go to the Facebook Events Manager. If you are still a site-building beginner, then we recommend using some of the plugins for WordPress.
Manually Install Pixel Codes Yourself
If you want to do it completely by hand, select this option.
The installation will tell you that you need to put the tracking code in the header.php file of your theme. Copy the Facebook Pixel code and do so.
![]()
Lastly, turn on advanced matching if you need it, and send test traffic to your pixel. That’s it, you have the pixel installed.
![]()
While you are still on Facebook, you can quickly switch to the ad manager to log into your ads account. Facebook Ad Manager can assist you in creating Facebook ad campaigns, configuring dynamic ads, and using Facebook’s retargeting pixel.
Note: Some people don’t feel comfortable editing theme files because errors caused this way can crash the site. In that case, install the Insert Headers and Footers plugin. The plugin, as the name implies, allows you to insert code into the header and footer of your page. You can do that by simply copying and pasting the Facebook pixel tracking code in a field called ‘Scripts in Header’.
Testing Your Pixel
The easiest way to test your Facebook Pixel in WordPress is to install the Google Chrome extension called Facebook Pixel Helper. Pixel Helper can easily show you if the pixel is found and working.
![]()
Advanced Usage of Facebook Pixels in WordPress
If the standard application of Facebook pixels doesn’t satisfy your needs, there is more. You can make custom functions to, for example, log all users who read a specific portion of your blog post. These users can later become potential leads. So, if you are one of the more advanced users and you want to look deeper into Facebook pixel possibilities, do that here.
Another higher-level thing you can do is to use Google Tag Manager. Tag manager can help you manage all your marketing tags, including Facebook pixels. You can also integrate it into your Google Analytics account.
Whether you use Google Analytics integration or tag manager by itself for Facebook Pixel tracking is up to you.
Tip of the day: If you are tired from all this content marketing stuff you can use products like Easy Digital Downloads. They provide an all-in-one solution for your trading needs.
Conclusion
In this rather short beginner’s guide, we showed you a few ways of installing Facebook Pixel. All in all, by applying conversion tracking and Facebook retargeting, you can now efficiently use social media marketing.
Lastly, for more WordPress tutorials check the rest of our blog. Let’s make your WordPress website the best it can be!
Post a Comment for "How To Add Facebook Pixel To WordPress Site?"